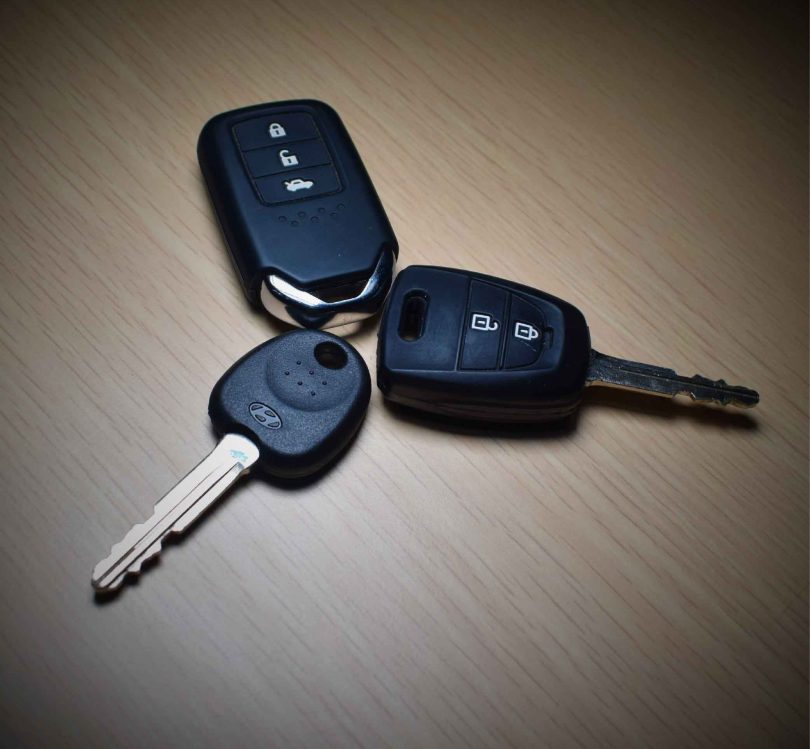
One of those significant improvements is the computerized systems that enable most recent cars to use a keyless remote or key fob. This feature makes starting your vehicle, shutting it off, locking, and unlocking the doors very easy. However, the challenge is that the remote uses batteries, and they can run out.
This article reveals what you ought to do whenever you experience a Honda key fob dead battery. So, if you drive a modern car fitted with electronic operations like a keyless remote, I’m sure you need this piece of information. It doesn’t matter the make or model; this information is also helpful in addressing low remote batteries on CRV.
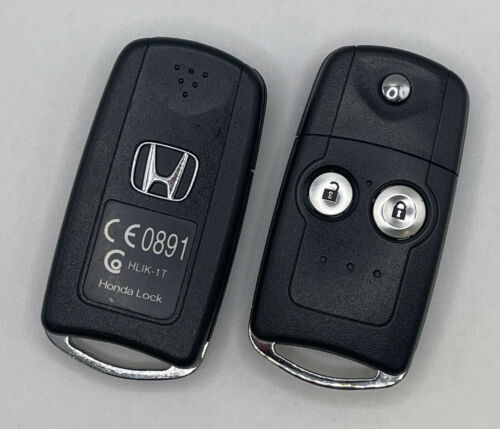
Honda Key Fob Dead Battery Solutions
First of all, it is imperative to ensure that your car’s keyless remote battery never runs low. However, if you discover that the battery is dead, there is a way out.
Most recent cars have a security chip within the remote or key fob that works without the battery. However, it works from a very close range to the vehicle. So, you will have to get very close to the car and hold the start button of your smart fob to enable you to start your vehicle.
Meanwhile, the best solution to a honda key fob dead battery is a complete replacement. Other options of managing the remote may work in the meantime, but you cannot continue to rely on them so that the unexpected doesn’t occur. If you see low battery warning on your Honda, read our Honda Key Fob Low Battery Warning article before its too late.
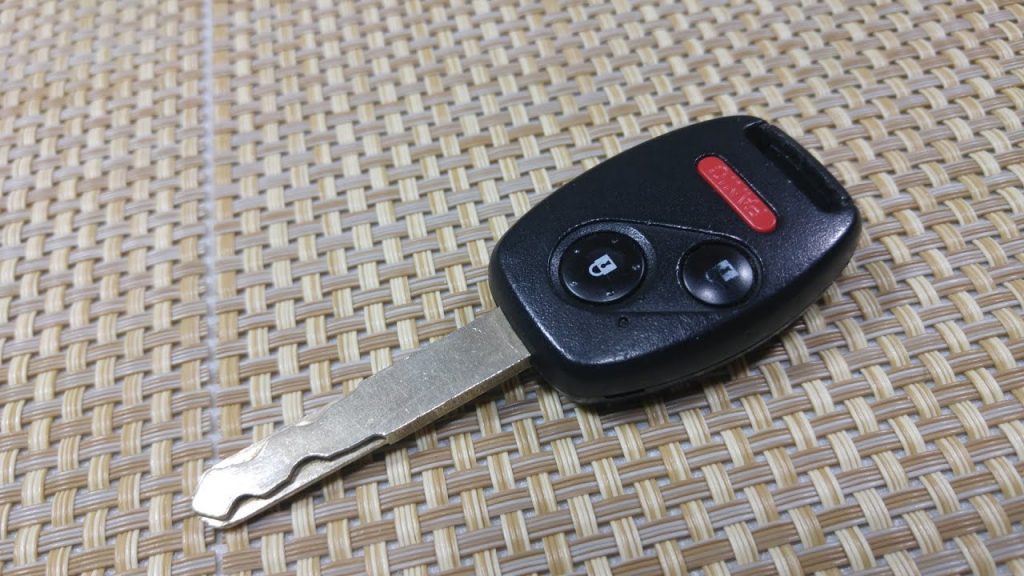
Change the Battery Before Its Too Late
Modern cars with electronic configurations that use keyless remotes also have a system that helps to track battery usage. The computer helps to monitor the power (voltage) output of the keyless remote’s battery.
On most vehicles, the system is designed such that when the battery power declines to a certain level, it triggers the keyless remote battery low light on your car’s dashboard. The light is to ensure that you are aware before the car’s remote battery dies to the point where you may find it challenging to start your vehicle, lock or unlock the doors, etc.
If you suddenly discover that the remote low battery warning light displays on the dashboard, it would be best to replace the battery quickly. Do not try to manage it around until the battery dies and gets you stranded someday. Change the keyless remote battery immediately.
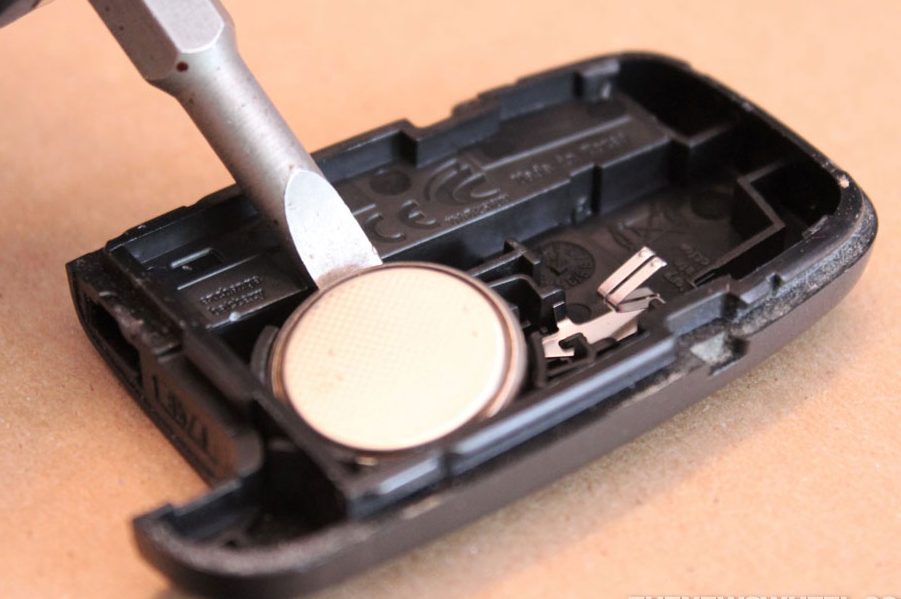
How To Change Keyless Remote Battery
Changing your car’s low remote batteries can be very easy, but you must ensure that you get the appropriate battery for the remote and fix it correctly so that it can work. These steps will help you change your car’s low or dead keyless remote battery.
Step 1: Open the Fob/Remote
Once you get the correct battery for your car’s keyless remote from a reliable automobile accessories dealer, the first step is to open the remote. It’s pretty easy to know how to open the key fob to replace the battery.
To do this, use an object that can help you to pry the remote open carefully. You probably may not be able to open it with your hands. Ensure first to loosen the screw holding the two parts together (if any).
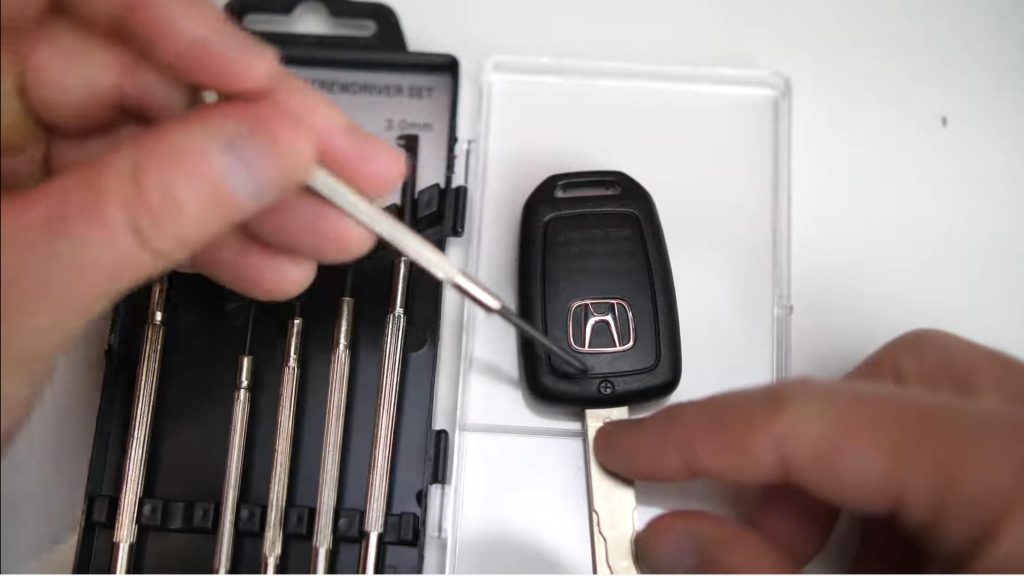
Step 2: Remove the Old Battery
After opening the remote, ensure to check how the original battery is placed, taking note of the positioning and the signs facing up on the battery. The batteries are typically round and fixed in a rounded position.
Once you note the correct position of the battery, remove the old battery by first sliding it out (if there is an open space by the side). If that doesn’t work, check out for any clips that may be holding the battery in place; then, carefully push the clips aside, and slide out the old battery.
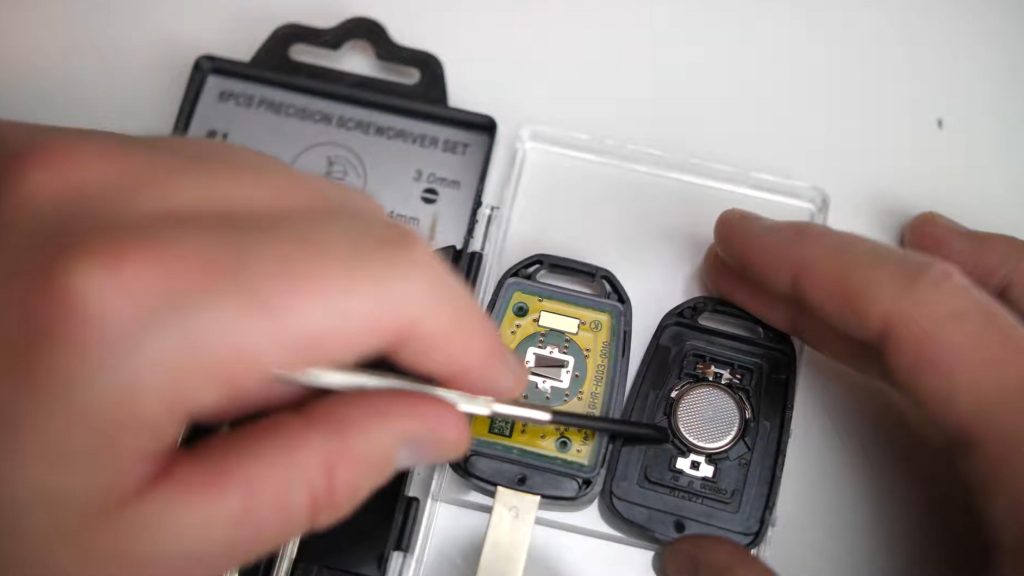
Step 3: Fix the New Battery
After removing the old battery, fix the new one with the old battery’s same order. You see why you needed to take note of the position of the old battery!
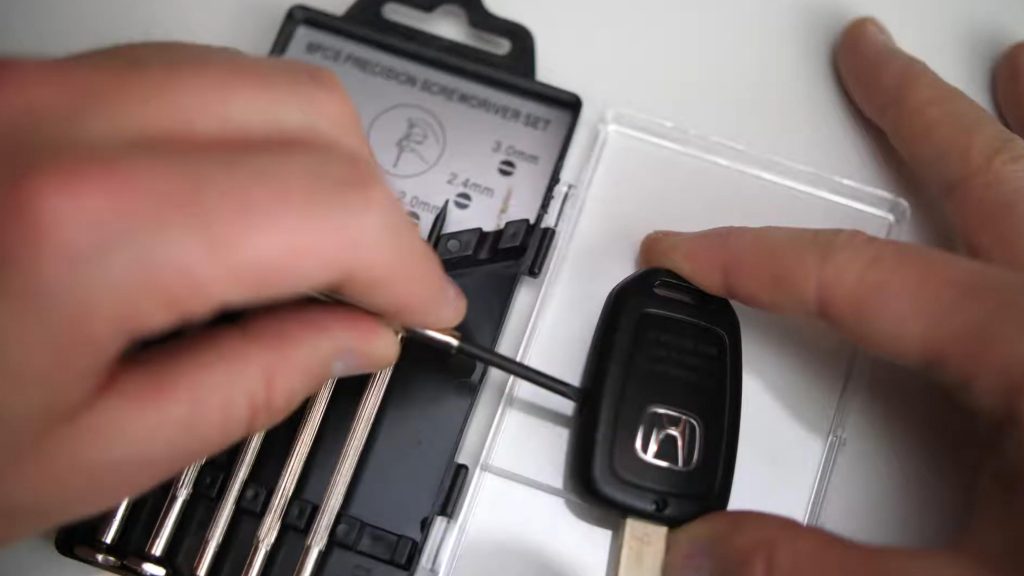
Step 4: Close/Lock the Keyless Remote/Fob
Once you correctly fix the new battery, proceed to reverse the process you used in opening the remote to enable you to lock it back. Ensure that you observe the holes and the sides pointing into them to fix them correctly.


